


How To Replace The Recoil Starter On Snow Blowers
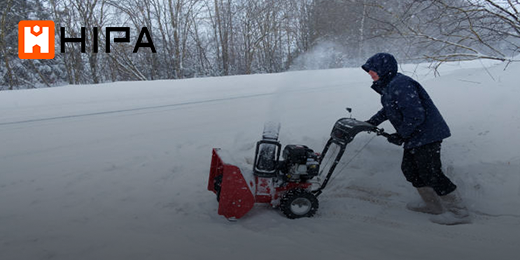
If your snow blower has a bad recoil starter, this blog offers you step-by-step instructions for replacing a recoil starter on snowblower. Here we will take a Toro 38752 snow blower as an example.
How To
Safety first. Make sure your engine has cooled before you begin this repair.
Step 1: use a 3/8 inch socket to unthread the three mounting bolts securing the chute handle and the chute itself. Remove the assembly and detach the handle. Using a Phillips head screwdriver unthread the screw to release the chute ring seal under the two front housing mounting screws. Then unthread the three screws from the right side of the housing and use a 3/8 inch socket or nut driver to unthread the mounting bolts securing the housing to the rear bracket. Next, unthread the screws to release the two retaining clamps holding the housing to the handle. Now you can fully remove the housing.
Step 2: Detach the starter rope and handle from the retainer. Use an 8 millimeter socket to unthread the four screws to release the old recoil starter assembly.
Step 3: Install the new recoil starter assembly by aligning it on the fan housing. Then thread the four screws and secure the starter rope and handle in the retainer.
Step 4: Reposition the housing, align the two retaining clamps and thread the screws to secure the housing to the handle. Then rethread the mounting bolt to secure the housing to the rear bracket, put the three right side screws back on as well as the two screws securing the front of the housing, and reposition the ring seal on the housing. So the Phillips head screw hole aligns with the appropriate screw hole in the ring gear and you need to thread the screw.
Step 5: Realign the handle on the chute, then reposition the assembly on the ring seal and thread the three mounting bolts to secure.
With the new recoil starter installed, your snowblower should now be ready for use.
HIPA RECOIL STARTER
Please let us know if this works and if you have any suggestions or comments. Or you can join HIPA DIY COMMUNITY to feature your passion for repair projects, share your stories with the Hipa family and get help from Hipa.


