Recoil Spring Replacement On A String Trimmer

This blog is a step-by-step instructions for replacing the recoil spring on a string trimmer. The most common reasons for replacing the recoil spring is if the engine will not start properly.
Replacement
Before you replace the recoil spring on your string trimmer, you need to first make sure the engine has cooled.
Step 1: Remove the wire and boot from the spark plug to prevent the engine from accidentally starting.
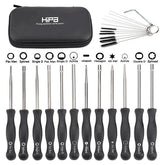
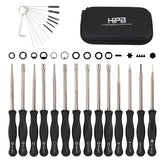
Step 2: Use a t25 Torx bit to unthread the mounting screws to release the pull starter assembly.
Step 3: Secure the starter rope then untie the knot at the end and remove the handle.
Step 4: Now hold the drive pulley and slowly release the tension on the recoil spring. Unthread the screws securing the pulley and spring components. Lift off the drive pulley, hold the rewind pulley in place and use pliers to carefully detach the drive spring.
Step 5: Now gently remove the rewind pulley and the old recoil spring if still intact. The spring can cause injury, so use eye protection and a towel to help contain the spring.
Step 6: You are now ready to install the new recoil spring. Align the spring hook with the slot in the pulley and hold the spring firmly in place. As you remove the plastic retainer, you need to make sure the rope is secured in the notch. Align the pulley in the starter housing and rotate it counterclockwise until the hook in the spring catches onto the tab in the housing. Now attach the hooked end of the drive spring onto the rewind pulley. Set the drive pulley on the spring and rethread the screw to secure the components.
Step 7: Now rotate the pulley counterclockwise two times to put tension on the spring. Align the notch in the pulley with the hole in the starter housing and feed the rope through the housing. Then insert the end of the rope through the handle and tie a knot to secure.
Step 8: Make sure the knot is seated in the handle and confirm that the starter assembly rotates freely. Reposition the assembly on the starter housing, then pull the rope to align the drive pulley on the ratchet pawls.
Step 9: Thread and tighten the mounting screws to secure.
With the repair completed, reattach the wire in the boot to the spark plug and your string trimmer should be ready for use.
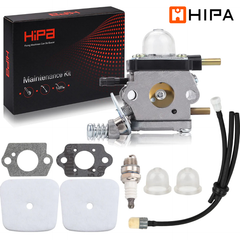
Revive Your Machine With Hipa All-In-One Kit
Hipa's parts kits make it quick and easy to maintain or restore your lawn and garden equipment. Whether you need replacement parts, tools, or help, Hipa has the small machine solution for you.


