


Chain Tensioner Replacement On A Chainsaw
This blog is a step-by-step instruction on how to replace a chain tensioner on chainsaws. The most common reason for replacing the chain tensioner is when the chainsaw bar does not adjust when you turn the tension screw and the tenioner, rather than the tension screw, the tension gear, or the adjustment bolt, is worn or damaged.
Replacement
Before you replace the chain tensioner components in you chainsaw, you need to first make sure the engine has cooled and that the on/off switch is in the off position.
Step 1: Now use the provided wrench or a 13 millimeter socket to help loosen and unthread the nuts securing the clutch cover. It is also important to confirm that the chain brake is disengaged and remove the cover.
Step 2: Note the position of the tensioner pin then use a large flat-head screwdriver to fully unmanned screw. With the screw removed, you can pull out the tensioner pin retainer and bearing.
Step 3: You are now ready to install the new chain tensioner components. Position the new bearing in the clutch cover with the beveled edge facing outward. Insert the new retainer and thread the new bar adjustment screw through the retainer. Align the new tensioner pin and thread the screw through it. Then continue to thread the screw until the retainer locks the screw in place. Now rotate the screw counterclockwise to return the pin closer to the center of the screw. To replace the clutch cover, the tensioner pin will need to be inserted into the hole in the chain bar.
Step 4: You will need to rotate the tension adjustment screw counterclockwise a few more times to properly align the pin with the cover in place and tighten the nuts.
Step 5: Now lift the bar and rotate the adjustment screw clockwise until there is no slack in the chain.
Step 6: Fully tighten the nuts and confirm that the chain is taut.
With the repair completed, turn the on/off switch to the on position and your chainsaw should be ready to use.
Product Recommendation
1. HIPA Quality Chainsaw Chains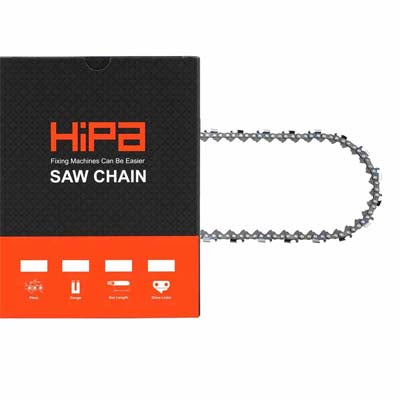
Please let us know if this works and if you have any suggestions or comments. Or you can join HIPA DIY COMMUNITY to feature your passion for repair projects, share your stories with the Hipa family and get help from Hipa.


14 Comments
The saw has a “side cover” that fastens the chain securely in place and has an adjustment toggle wheel used to adjust chain tension. The toggle wheel broke off on the inside of the cover, making adjusting the chain impossible. I need a new “side cover” assembly. I contacted Kobalt and spoke with someone who said that Kobalt does not sell this part and that I would have to replace the entire chainsaw.
I have a hard time believing this and am asking how to order this side cover so I can continue using this saw.
Thank you
Jeff Canfield
segelboot chartern kroatien https://eurosegeln.com/yachtcharter-kroatien
яхты в черногории
whatsapp number online>
https://veented.ticksy.com/ticket/3988316