


Clutch Replacement On A Chainsaw
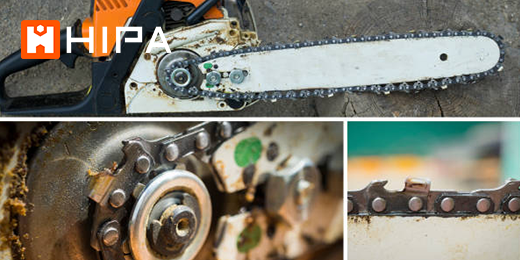
This blog is a step-by-step instruction on how to replace the clutch on chainsaws. The most common reason for replacing the clutch is when the chainsaw does not cut properly.
Replacement
Before you replace the clutch on your chainsaw, you need to first make sure the engine has cooled and the on/off switch is in the off position.
Step 1: Now use the provided wrench or a 13 millimeter socket to help loosen and unthread the nuts securing the clutch cover. It is also important to confirm that the chain brake is disengaged and remove the cover.
Step 2: Now unthread the knobs securing the air filter cover and pull the cover off. Remove the wire and boot from the spark plug. Use the provided wrench to help loosen the spark plug then unthread it.
Step 3: Confirm that the piston is in the down position, then insert a cord into the cylinder to prevent the piston from moving.
Step 4: Next use a large flat head screwdriver and strike it with a hammer to rotate the clutch clockwise to loosen. Then support the chain bar as you unthread the clutch from the crankshaft.
Step 5: Install the new clutch by threading it counterclockwise onto the crankshaft then tighten.
Step 6: Remove the cord from the cylinder. Rethread the spark plug and be careful not to strip the threads by over tightening. Reattach the wire in boot, realign the air filter cover and rethread the knob to secure to replace the clutch cover. The chain tensioner pin will need to be inserted into the hole in the chain bar. You will probably need to rotate the tension adjustment screw counterclockwise to properly align the tensioner pin with the cover in place and tighten the nuts.
Step 7: Now lift the bar and rotate the adjustment screw clockwise until there is no slack in the chain. Fully tighten the nuts and confirm that the chain is taut.
With the repair completed, turn the on/off switch to the on position and your chainsaw should be ready to use.
Please let us know if this works and if you have any suggestions or comments. Or you can join HIPA DIY COMMUNITY to feature your passion for repair projects, share your stories with the Hipa family and get help from Hipa.


