Carburetor Replacement On A Small Engine
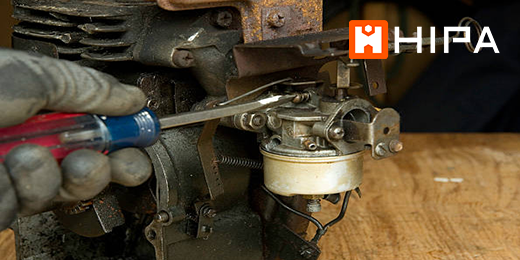
This blog is a step-by-step instruction for replacing the carburetor on a Briggs & Stratton small engine. The most common reasons for replacing the carburetor is when the small engine won’t start or starts and quickly stalls.
Replacement
Before you begin the replacement, you need to make sure the engine has cooled and remove the wire and boot from the spark plug to prevent the engine from accidentally starting. It is better for you to perform this procedure with little or no fuel in the tank.
Step 1: Now loosen the rope guide wing nut and remove the stater rope.
Step 2: Use a 5/16 inch socket or nut driver to unthread the bolts securing the blower housing cover. Lift off the cover by pulling it off from the top and remove the air filter. Remove the screws securing the air filter housing. You may need to use two different size sockets or nut drivers to do this, 5/16 inch and 7 millimeter.
Step 3: Pull the housing free of the breather tube to remove. Use locking pliers to crimp the fuel line. Lift the fuel tank off of the blower housing and use pliers to release the spring clamp securing the fuel line. Detach the line from the carburetor and set the tank aside.
Step 4: Now detach the old carburetor from both the choke and throttle linkages. Be sure to remove the old O-ring and retainer from the carburetor adapter if necessary. Use the 5/16 inch socket or nut driver to unthread the screws to release the carburetor mounting bracket.
Step 5: Prepare the new carburetor for installation by inserting the provided O-ring into the adapter. Align the adapter in the mounting bracket then reposition the bracket and secure it with the screws. Now connect both the throttle and choke linkages to the new carburetor and align the carburetor on the adapter.
Step 6: Attach the fuel line to the carburetor and secure it with the spring clamp. Reposition the fuel tank on the blower housing and remove the locking pliers. Reinstall the air filter housing by first attaching it to the breather tube, then rethread the screws to secure.
Step 7: Reposition the air filter and the housing, then realign the housing cover and snap it into place. Replace the blower housing cover, then thread and tighten the bolts to secure.
Step 8: Depress the bail arm, extend the starter rope and hook the rope on the guide. Tighten the rope guide wingnut.
With the repair completed, reattach the wire and boot to the spark plug and refill the fuel tank. Now your small engine should be ready for use.
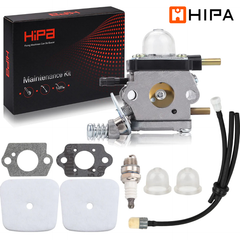
Revive Your Machine With Hipa All-In-One Kit
Hipa's parts kits make it quick and easy to maintain or restore your lawn and garden equipment. Whether you need replacement parts, tools, or help, Hipa has the small machine solution for you.


