Primer Bulb Replacement On A Small Engine
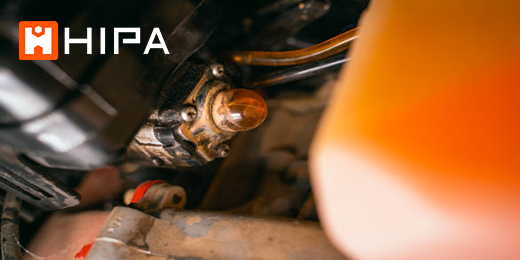
This blog is a step-by-step instruction for replacing the primer bulb on a Honda small engine. The most common reasons for replacing the primer bulb are when the engine leaks gas or won’t start.
Replacement
Before you begin the replacement, you need to make sure the engine has cooled.
Step 1: Depress the tabs to release the air filter cover and pull out the filter element. Use an eight millimeter socket or nut driver to unthread the mounting nuts securing the filter housing. Remove the support plate and detach the housing from the breather tube.
Step 2: Note the orientation of the fuel lines attached to the carburetor then detach them. Be prepared for some fuel to spill. With the lines detached, slide the carburetor off of the mounting posts and set it on a sturdy surface.
Step 3: Use a Phillips head screwdriver to remove the screws holding the carburetor components together. Carefully lift off the mounting plate and remove the old primer bulb if still intact.
Step 4: Install the new primer bulb by inserting it into the mounting plate. Realign the plate then thread and tighten the screws to secure. Confirm that the mounting posts are fully extended and slide the carburetor onto them.
Step 5: Attach the fuel lines to the appropriate ports on the carburetor. You also need to confirm that the O-ring is in place on the air filter housing then reposition the housing by inserting the port into the breather tube.
Step 6: As you align the housing on the post, replace the support plate then thread and tighten the mounting nuts to secure the assembly. Replace the air filter element, realign the air filter cover and snap it into place.
With the repair completed, your small engine should be ready for use.
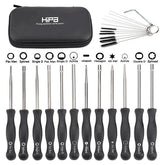
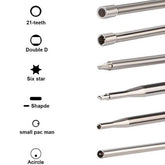
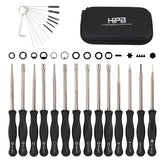
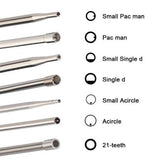
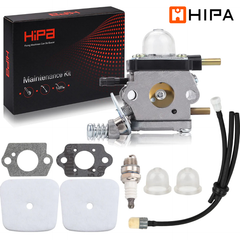
Revive Your Machine With Hipa All-In-One Kit
Hipa's parts kits make it quick and easy to maintain or restore your lawn and garden equipment. Whether you need replacement parts, tools, or help, Hipa has the small machine solution for you.


